Interactive notebook
Using Notebook
The development container contains a jupyter notebook environment to experiment with the developer instance.
To access the notebook access it in a browser using the URL: http://localhost:8844/?token=timesketch
(you can also just access http://localhost:8844 and type in timesketch as the
password).
To get you started there are snippets you can use (look for the snippets
drop-down menu and select the code snippet you want to test.
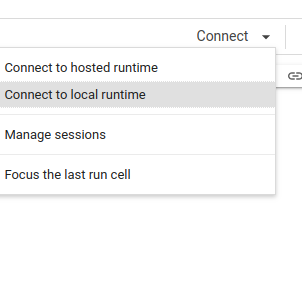
To be able to use the notebook container using colab start by creating a notebook and then click the little triangle/arrow button in the upper right corner to connect to a local runtime, see:

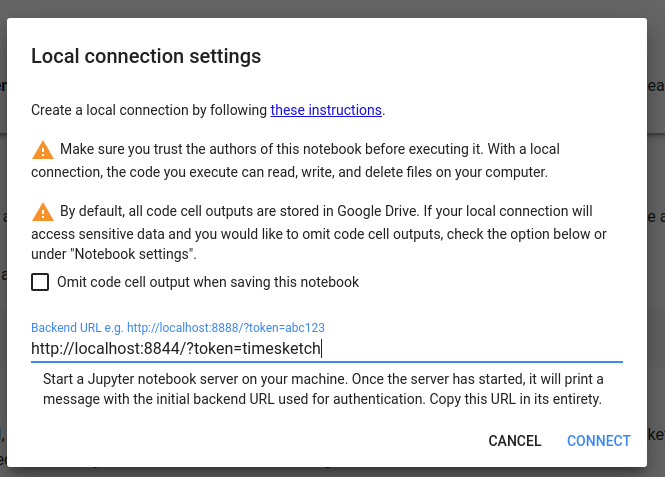
This will create a pop-up that you need to enter the URL for the local runtime. Use: http://localhost:8844/?token=timesketch as the URL.

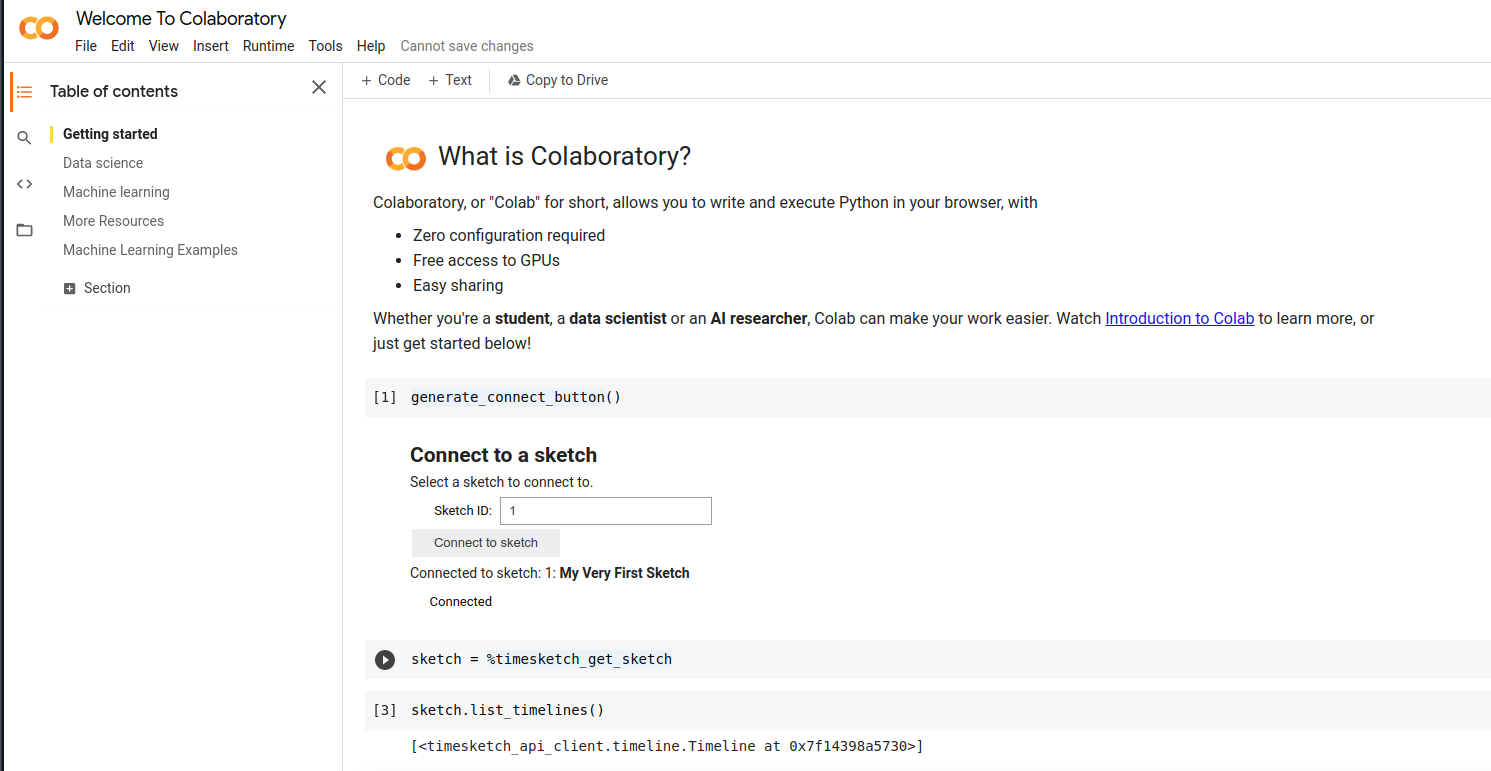
This will connect to the notebook container, where you can start executing code.

There are some things that work better in the Jupyter container though.
Developing the API Client Using the Notebook
Using the notebook can be very helpful when developing the API client. New features can be easily tested.
In order to load changes made in the code, two things need to happen:
- The code needs to be accessible from the container
- The code needs to be installed and the kernel restarted
For the code to be accessible, it has to be readable by the user with the UID of 1000 or GID of 1000. One way of making sure is to run
$ sudo chgrp -R 1000 timesketch
Against the source folder. Then inside a notebook to run:
!pip install /usr/local/src/timesketch/api_client/python
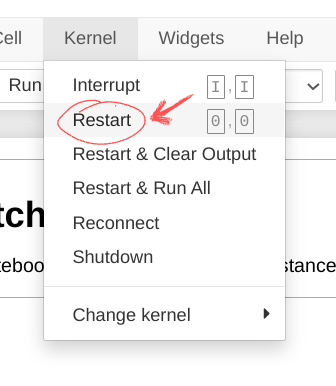
After the code is installed the kernel needs to restarted to make the changes take
effect. In the menu select Kernel | Restart, now you should be able to go back
into the notebook and make use of the latest changes in the API client.
